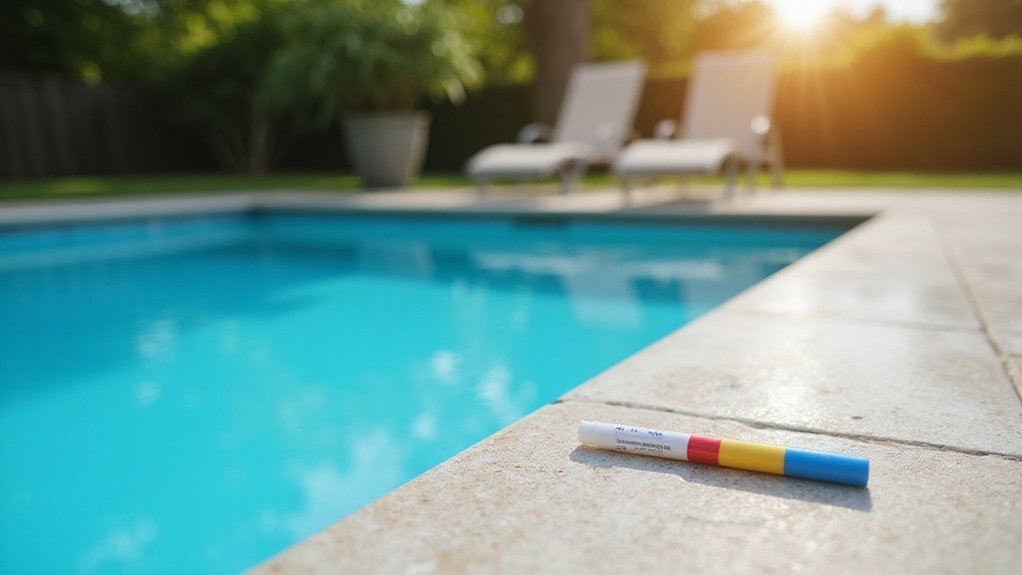
Getting your above-ground pool set up might seem daunting, but with the right steps, you can have it ready to enjoy in no time. The key is proper site preparation, accurate assembly, and ensuring your water chemistry is balanced.
Once you understand these basics, the process becomes straightforward and satisfying. Keep reading for a detailed walkthrough to help you through each step.
Choose Your Spot and Get the Right Permits
Choose a level, accessible spot that is visible from your house but respects property lines and septic areas. Aim for a naturally flat area at least ten feet from structures and power lines to ensure safety and stability. Avoid placing the pool under trees or near eaves, as falling leaves and debris can cause maintenance headaches, similar to how organic contamination can disrupt pool water balance. These contaminants will require specific essential pool chemicals to remove them and restore water clarity. Orientation matters—position it for optimal sun exposure, but also consider using existing landscaping, such as fences or plantings, to provide privacy and shield it from wind and neighbors. The importance of proper orientation for health benefits is well-understood in other areas of wellness, such as the deliberate heat exposure used in infrared sauna therapy. It is essential to check local codes for setback requirements and whether permits are needed for the pool or related electrical work. Before digging, always call 811 to have underground utilities marked to prevent costly or dangerous mistakes.
Prepare and Perfectly Level the Ground
Once you’ve selected your site, preparing and perfectly leveling the ground is essential for a stable and visually appealing pool. Start by marking the area and removing all grass and topsoil to expose a clean surface. Clear out any rocks, roots, or debris to prevent uneven settling later. Use a long 2×4 and a level as a straightedge to identify high and low spots across the area. If you find unevenness, carefully remove soil from high areas and transfer it to low spots until the surface is more even. Compact the moistened soil with a tamper to stabilize the foundation.
Next, add a layer of clean, level sand—about 2 to 3 inches thick—and smooth it out with a rake. Recheck the entire area with your straightedge, making minor adjustments as needed. Continue this process until the surface is perfectly flat and stable, ensuring the pool will sit evenly and prevent shifting or tipping over time. A stable, level foundation also helps protect your pool liner from premature wear and damage. Proper soil preparation and leveling now will save you effort and frustration during the pool installation.
Assemble the Bottom Track and Base
Start by marking the pool’s base in a perfect circle. Drive a central stake into the ground and use a tape measure to measure out the radius you want for your pool. Spray-paint a continuous outline around the stake to define the circle. To ensure stability, install level patio blocks under each connector point along the marked outline. Lay out and join the bottom track sections along this circle, making sure to fully secure all joints. Using a thorough step-by-step plan from a related project can help avoid missteps. Use temporary stakes to hold the track in place while you work. Throughout the process, constantly measure across diameters to verify the circle remains true. Separate your hardware types to streamline assembly and prevent confusion during this stage. The goal is a stable foundation, much like ensuring you have a proper chemical balance before using shock treatment for algae. Having the right pool installation tools on hand will make this process smoother and more efficient. Level the entire bottom track assembly across the patio blocks and the solid, compacted ground underneath. Achieving a level, well-measured foundation is critical for a stable pool.
Install the Pool Wall and Support Braces
To install the pool wall and support braces, start by raising and securing the pre‑rolled wall panels into the bottom track. Having a helper makes this process easier. Carefully unwind each panel and seat it into the joints of the bottom rail, ensuring it fits snugly. Place the top rail over the wall panels to help maintain their shape during installation. Then, insert screws along the seams every few inches; leave these screws loose at first to allow for final adjustments. Once the wall is upright and secured, set up the support braces by attaching the vertical uprights to their bottom plates along the perimeter. Secure these uprights with screws, then temporarily clip the upper parts over the wall to hold everything in place. After all uprights are in position, tighten all screws gradually. Check level and depth regularly during this phase to ensure a stable foundation. Use a long level to check if the top of the wall is level and make adjustments to the base if it deviates more than about two inches. Even with perfect installation, cloudy water can occur without proper chemical balance and consistent sanitizer and oxidizer levels. Maintaining a clean pool during construction is easier with a solar pool skimmer working on the water surface. Understanding your water chemistry is just as important for pool maintenance as it is for a hot tub.
Unfold and Secure the Pool Liner
To unfold and secure the pool liner, start by laying it flat in the sun to warm up. This helps relax the material, making it easier to handle and shape. Ensure the pool basin is clean and free of any debris or sharp objects that could puncture the liner. Unfold the liner into the center of the pool with the printed side facing up and then spread it outward toward the walls. Hang the liner evenly over the top edge of the pool wall, using temporary clips to hold it in place. Aim for a uniform overhang around the entire perimeter, leaving some slack to allow for settling once the water is added. Proper initial placement prevents wrinkles and stress points that can lead to tears over time. Begin securing the liner at four main points, typically opposite sides, to keep it centered and smooth as you proceed. It is also important to clear any foreign objects from the liner surface before final positioning to prevent damage during installation. Having your replacement skimmer gasket ready ensures a watertight seal once the liner is in place and the skimmer is installed. Just as with cleaning fabrics, using the correct mild cleaning solution on any marks found now can prevent stains from setting into the liner material. Always ensure the area is well-ventilated during this process, as trapped heat and moisture can create a challenging environment for physical work.
Begin Filling and Settling the Liner
Once the pool liner is centered and secured, start filling it with a shallow, slow-flowing layer of water—about an inch deep on the floor. Use a low-flow hose, often covered to reduce splashing and impact. Gently push out any wrinkles from the floor toward the walls as the water rises, maintaining this shallow level during wrinkle monitoring. This helps ensure the liner lays flat and smooth. After the floor is wrinkle-free, fill to about six inches deep to initiate the stretching process. As the water level increases, check for remaining creases and adjust the outside overlap of the liner section by section to remove slack. Do not continue filling beyond this point until you are certain the liner is smooth and properly positioned. When adjusting for slack and proper tension, consider the principles behind heat expansion and contraction, as materials react to temperature changes. Having the right tools on hand makes this process easier and prevents damage to the liner. Proper chemical balance and maintenance is also crucial to preserve the liner material over time.
Connect the Filter, Pump, and Ladder
Begin by positioning the pump and filter on a firm, level surface close to the pool’s fittings. This placement minimizes hose lengths, reducing the chance of leaks and ensuring efficient water flow. Make sure the hoses are fully pushed onto their fittings, check that the seals aren’t pinched, and tightly clamp each connection for a secure fit. Connect the pump to the filter using a union fitting, tightening it hand-tight to prevent leaks. Before starting, fill the filter housing with water to prime the pump, which helps it operate smoothly and prevents dry running. The principle of ensuring a proper seal is similar to the benefits seen with a steam sauna enclosure. Power on the pump briefly to check for any leaks around the connections, and re-tighten the clamps if necessary. Once the filtration system is set up and working correctly, assemble the ladder according to its instructions and securely attach it to the pool deck. When assembling the ladder, match the labeled steps to their corresponding side rails for correct alignment. Once everything is assembled, you can begin filling the pool and preparing the essential pool chemicals for initial water treatment. For a pool that retains heat more effectively, consider a solar pool cover as part of your setup.
Complete Startup and Balance Your Pool Water
Start by conducting thorough water testing for pH, total alkalinity (TA), free chlorine, cyanuric acid, and calcium hardness. This ensures you know the current state of your water and guides your balancing process. Begin adjusting total alkalinity to 80–120 ppm, as it stabilizes pH. Use sodium bicarbonate to raise TA or muriatic acid to lower it. Circulate the water for several hours before retesting to allow chemicals to disperse evenly. Before proceeding to shock treatment, ensure all debris is cleared from the pump and skimmer baskets and backwash the filter to maintain optimal circulation. Once your pool is balanced and cleared, consider building a DIY pool cover reel to make future maintenance easier.
Next, correct your pH to a range of不能用 7.2–7.6 using soda ash to raise it or a pH decreaser to lower it. Proper pH levels prevent corrosion or scale buildup and make sanitizers more effective. Adjust calcium hardness if necessary, aiming for 200–400 ppm, to prevent water from becoming corrosive or scale-forming. Add a metal sequestrant if metal levels are high, which helps prevent staining and discoloration.
Finally, sanitize the water by adding chlorine to reach 1–3 ppm, then shock the pool at dusk to eradicate any contaminants and organic matter. Stabilize the chlorine with cyanuric acid to protect it from sunlight. Run the pump overnight to circulate and filter the water thoroughly. After 24 hours, retest all levels and make any necessary adjustments to ensure your pool water is balanced, safe, and inviting.