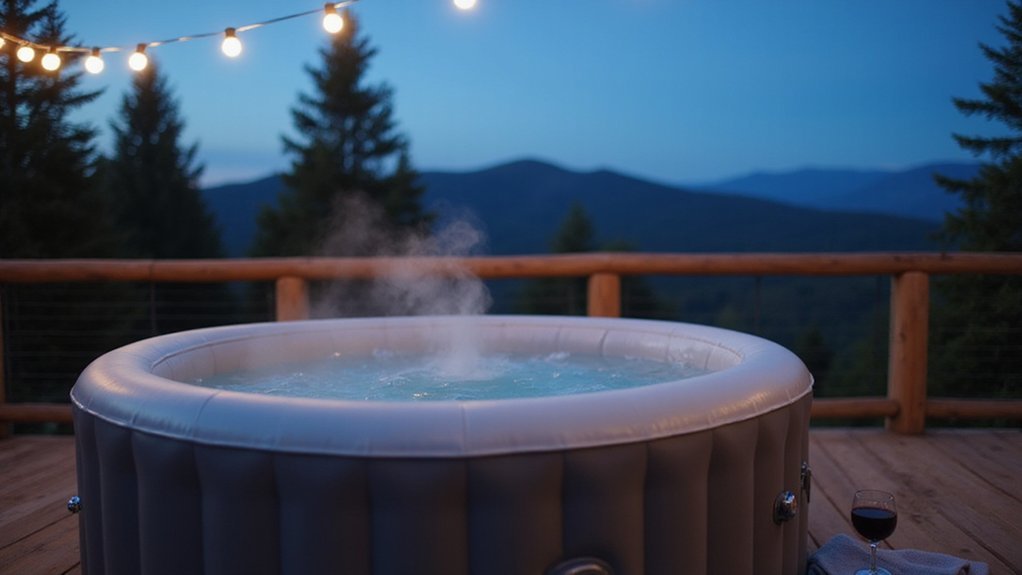
Setting up a hot tub can seem like a hassle, but with a few simple steps, you’ll be relaxing in no time.
The key is choosing the right spot, inflating the tub properly, and ensuring everything is secure before filling and heating the water.
By following a straightforward process, you’ll have your inflatable hot tub ready for use quickly and safely.
Keep reading to see exactly how it’s done.
Unbox Your Inflatable Hot Tub and Check All Components
Unboxing your inflatable hot tub begins with careful opening of the shipping carton to prevent damage to hoses, liners, or the control unit. Gently remove all inserts and instruction sheets first, then discard the packing material. Lay each item on a clean, flat surface to check for any signs of damage or missing parts.
Compare what you find against the manufacturer’s parts list to ensure all components are accounted for, including the spa shell, control base or pump unit, inflation hose, filter, and cover insert. Unfold the shell and inspect it thoroughly for punctures, tears, or seam splits. Examine the cover and inflatable insert for pinholes or leaks, and verify that all protective caps are present on connection ports. Verify that the hose adapters screw onto the hot tub for inflation, as included in the component check. Unlike infrared saunas that use direct heat for deep tissue relief, inflatable hot tubs rely on heated water jets for relaxation. Before proceeding, it is helpful to sweep the bottom of the tub area with a leaf skimmer or pool brush to remove any loose debris that could clog the filter. For a durable outdoor setup, consider using a propane fire pit as a heat source near the tub.
To prevent loss later, count all small parts like hose connectors, twist-lock fittings, and other pieces, grouping them together. Do not overtighten plastic fittings during setup, as this can cause damage. Taking your time with this initial inspection ensures everything is in proper condition and ready for setup.
Choose a Level, Wind-Protected Spot for Setup
Choosing a level, wind-protected spot is essential for your inflatable hot tub’s stability and efficiency. Select a flat, load-bearing surface like a concrete slab or wooden deck to ensure proper ground stability. Avoid grass or bare earth, as these can sink or shift under the weight when filled. For wind protection, position the tub near a wall, fence, or natural barrier to reduce heat loss, lower energy use, and prevent drafts during use. This also helps guard against freezing temperatures in colder months. Ensure good drainage around the area so water does not pool beneath the tub, and keep the space clear of sharp objects, trees, and fire hazards. Leave enough room around the tub for easy access, maintenance, and cover handling to make ongoing use simpler and safer. To prepare the site effectively, clear the ground of all vegetation and debris and then apply a weed and grass killer, allowing about two weeks before any further work begins. If the water in your pool turns green after shocking it, the likely cause is high levels of metals like copper or iron that oxidize and stain the water. Additionally, if you need to dispose of emptied propane cylinders used for heating the tub, contact a local hazardous waste facility or follow safe disposal methods to avoid environmental harm. Note that a standard 20 lb propane tank holds about 4.7 gallons of fuel, which helps you estimate how long the tub can run before needing a refill.
Inflate the Tub Without Overfilling the Seams
To inflate the tub without overfilling the seams, use the main air valve and inflate in controlled stages. Connect your pump securely to ensure a tight seal, then gradually inflate until the walls feel firm but not rigid. Stop before the material becomes taut to avoid putting stress on the seams. Aim for about 1 centimeter of give when pressing the side; if it feels too tight, you risk overinflation, which can damage the seams. Without a pressure gauge, target roughly 95 percent of the tub’s capacity. Inflate each section gradually, following the manual, to distribute pressure evenly and protect the corner seams. After disconnecting the pump, immediately close the valve cap to lock in the pressure and recheck the firmness as the pressure stabilizes. If the tub feels too stiff, release a small amount of air rather than leaving excess pressure inside to prevent seam stress. Walk around the tub to ensure it has an even firmness without bulging or distortion. Expect air retention to vary with outside temperature and material thickness. For further guidance, consider applying controlled stages of inflation similar to those used when constructing DIY above-ground pool steps to evenly distribute pressure. This approach mirrors the careful material tension balance required when building a DIY barrel sauna to avoid structural stress. Using a durable winter cover can also help protect the tub from debris and weather when not in use.
Attach the Pump, Heater, and Cover Securely
To ensure proper sealing, inflate the cover’s insert until it feels firm but not overstretched. Attach the hose to its spout, then inflate while monitoring the firmness. Once the desired tightness is reached, remove the hose and securely close the spout. To guarantee the cover seals correctly, align it evenly over the rim, avoiding wrinkles or uneven folds. Using a soft, cushioned surface as a base under the hot tub prevents damage to the cover and components. Finally, check all connections to confirm they are tight and secure. Verify that the pump, heater, and cover are attached to their designated ports according to your manual to ensure optimal functioning. For efficient heating, consider placement near a windbreak to reduce heat loss from drafts. Proper care of the water chemistry through regular testing supports long-term healthy skin by preventing irritation from unbalanced pH levels. Additionally, even with balanced chemicals, cloudiness can result from insufficient filtration time or small particle buildup that requires a longer filter cycle.
Fill the Tub to the Marked Water Level
Fill the tub to the manufacturer’s marked water level. Use the water level indicator, which is usually a minimum/maximum line or a single line on the inner wall of the tub. Fill with clean, room-temperature water from a garden hose until the water reaches that mark or covers the midpoint of the filter intake grate. When filling, insert the hose into the filter well to help purge air from the plumbing lines and heater, preventing airlocks during initial pump priming. The order of adding chemicals to the water is also important to avoid dangerous reactions, so always add chemicals in the correct sequence after the tub is full. Accurately setting the proper water level is critical. Filling too low starves the pump, reducing jet performance and circulation efficiency. Overfilling can cause water to reach areas it shouldn’t, risking leaks or damage. If the marker isn’t clear, you can use common benchmarks like 1 to 2 inches below the headrest or 1 inch above the highest jet, but always prioritize the manufacturer’s mark. Stop filling when the water matches the inside indicator exactly. You should also consider how indoor versus outdoor placement affects your setup and long-term maintenance. To prepare for eventual water removal, you should know the proper draining procedure to protect your pump from running dry.
Heat the Water and Add Startup Chemicals
Once the water reaches the desired level, you can turn on the heater through the pump’s control panel—setting your target temperature, usually up to 104°F—and let the filtration system circulate the water as it warms. Depending on the starting temperature, heating can take several hours or even overnight to complete. To speed up the process, use warm tap water and keep the insulated cover tightly closed to minimize heat loss. For an even faster temperature rise, you can also add an immersion heater to double the heating rate, though it requires a separate outlet and careful hanging to avoid damaging the tub. To maintain efficiency, you should also regularly wipe down the interior to prevent buildup from affecting the heater’s performance. For managing your cover, a DIY cover reel can make removal and replacement much easier. To accurately test your chemical levels, you should use a reliable test kit rather than relying on test strips alone.
While the water heats, it’s important to add startup chemicals to establish proper chemical balance. Start with a sanitizer and pH adjuster, following the manufacturer’s instructions based on your tub’s water volume. After adding these chemicals, test the water to confirm that sanitizer and pH levels are within safe ranges before anyone enters. Do not add shock treatment yet—save that for later. Keep the pump running continuously to ensure even distribution of heat and chemicals throughout the water.
Avoid These 3 Common Inflatable Hot Tub Setup Errors
Always perform a thorough inflation check before filling your hot tub. Inflate the tub fully first, then carefully inspect the seams, valve seals, and pump connections for any leaks or weak points. Over-inflating can cause stress on the seams and distort the shape, while under-inflating may lead to instability and improper sealing. Wait until the tub feels firm and is perfectly level on the ground before proceeding to fill it with water. Confirm that all connections are secure and that the tub maintains proper air pressure to ensure a safe and enjoyable hot tub experience. After the tub is properly inflated and leveled, also test and adjust essential chemicals to prevent water cloudiness and bacterial growth. You can also shock the water to quickly kill algae and bacteria if the water turns green.