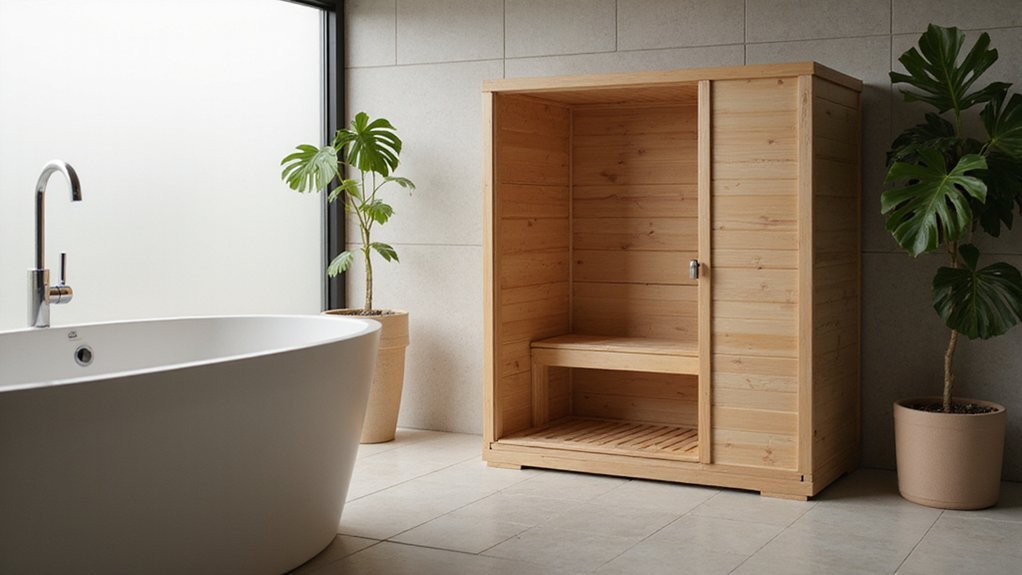
Thinking about building your own outdoor sauna but unsure where to start? The first step is choosing a good site—look for one with solid drainage.
And laying a stable foundation with gravel and blocks. From there, you’ll frame the walls, insulate, and seal it up with vapor barriers, setting the stage for a warm, cozy retreat.
The details matter, and the full process involves careful planning and construction—here’s how to do it step by step.
Lay a Solid Foundation for Your Sauna
To create a sturdy base for your sauna, start by selecting a site at least six inches away from structures or property lines. Ensure the ground slopes outward to facilitate proper drainage and prevent water accumulation. Always call 811 before digging to avoid damaging underground utilities.
Begin with excavation by removing all vegetation and topsoil within the designated footprint. Dig down 6 to 8 inches deep, extending the excavation about a foot beyond the sauna’s footprint for added stability. This extra margin helps prevent settling and enhances your overall foundation, similar to how proper site preparation is essential for above-ground pool liner replacement. For a quicker, concrete-free foundation, consider using adjustable TuffBlocks on gravel footings.
Choose your foundation type based on your needs and budget. Options include an affordable timber frame on gravel, concrete pads, or piers. Just as shock treatment costs can vary with pool size and condition, your foundation choice impacts your overall project budget and durability. Never place your sauna directly on soil or grass, as this can void warranties and lead to rot and shifting. Your commitment to a solid foundation will be rewarded with long-term health benefits from consistent use. Proper preparation now guarantees your sauna’s longevity and solid performance.
Frame the Sauna Walls and Install Insulation
After building the wall frames from 2×4 kiln-dried lumber and securing them plumb, the next step is installing insulation. Use unfaced fiberglass batts, cut to fit snugly between all the studs to prevent gaps that can reduce efficiency. Once the insulation is in place, staple a foil-faced vapor barrier directly over the studs and insulation, ensuring the reflective side faces inward. Overlap all seams by several inches and seal them thoroughly with aluminum foil tape to create an airtight envelope that prevents moisture infiltration and maintains heat. For proper ventilation and heat distribution, install furring strips to create an air gap behind the interior paneling. Proper installation of insulation and vapor barrier is essential for effective heat retention and safety in your sauna, just as a DIY propane fire pit requires careful planning and material selection for safety and functionality, similar to how selecting the right shock treatment type is crucial for maintaining clear and sanitary pool water. Taking precise measurements ensures you have just enough material, which can help you save on fabric and other costs.
Frame and Sheath the Roof Structure
Once you’ve installed your insulation and vapor barrier, the next step is to frame and sheath the roof structure. To ensure consistent heat, construct a flat interior ceiling using 2×6 or 2×8 joists spaced 16 inches apart. Securely attach these joists to your top plates, making sure they are level and stable. Cover this flat plane with 1/2-inch OSB sheathing, fastening it every 6 to 8 inches along the length of the joists for a secure connection. To protect your hard work from the elements between construction phases, consider using a durable protective tarp just as you would for an above ground pool. This is a great way to stretch your project budget by preventing weather damage.
For the exterior roof, choose a shed or gable design that extends above the ceiling to create an attic space. Frame the rafters to run from the ridge beam down to the walls, ensuring you leave a clear air channel between the insulation and the roof sheathing. This air gap is essential for effective roof ventilation, allowing air to flow from soffits at the eaves up to the ridge vent or vented ridge cap. For exterior protection, the OSB sheathing can be covered with a weatherproofing layer such as Tyvek housewrap. Proper framing and sheathing of both the ceiling and roof not only provide structural integrity but also facilitate efficient insulation and ventilation, which are key to a durable, energy-efficient roof system.
Build a Weather-Tight Roof
To make your roof fully weather-resistant, start by installing a waterproof membrane over the sheathing. This layer acts as a primary barrier against water infiltration. Then, apply your chosen rainproof materials, such as asphalt shingles or metal panels, ensuring they are properly aligned and secured. Maintain a slope of at least 4/12 to promote effective drainage and prevent water pooling, and consider using slightly varying beam sizes to create this slope while keeping the interior ceiling perfectly flat. Pay close attention to flashing at all critical joints, eaves, and ridges, installing metal flashing where necessary. Seal every penetration, like vents or chimneys, as well as lap seams, with an outdoor-grade sealant to prevent leaks. For a strong and reliable installation, ensure you are using a sturdy telescopic pole for any overhead work. Properly integrate the roof membrane with the walls at the eaves to block wind-driven rain. For the most effective and long-lasting seal on lap seams and penetrations, ensure your sealant application is as meticulous as finding a pool leak. Just as achieving clear water requires a thorough shocking a pool process, a weather-tight roof demands comprehensive attention to every sealing detail. These steps form a continuous, effective barrier that sheds water and protects your sauna’s interior from weather damage.
Install the Sauna Heater and Ventilation
Proper installation of the sauna heater and ventilation is crucial for safety and comfort. Start with the sauna heater placement. Mount your electric heater on a solid frame, ensuring it is elevated from the floor and maintains manufacturer-specified clearances from the side walls. Avoid installing it directly opposite the door; a corner position on the same wall is often ideal. For wiring, use a dedicated 240V circuit and follow the provided wiring diagram meticulously, ensuring all connections are secure. Place the temperature sensor on the wall nearby for accurate readings, and mount the control panel by the door for easy access. Once the heater is wired, you should perform a 30-minute initial burn-in to remove any residues from manufacturing. Consider the heater’s wattage rating carefully, as this directly impacts both its purchase price and the long-term operational cost. Before first use, it’s wise to familiarize yourself with how to turn on your hot tub heater as many of the same principles apply. For beginners, having a step-by-step guide can make the process much less daunting.
Your ventilation system must be carefully planned to promote continuous airflow. Install a low intake vent near the floor to bring fresh air in, and a high exhaust vent to allow stale air to escape. Proper placement of these vents ensures healthy, consistent airflow throughout the sauna, preventing moisture buildup and maintaining indoor air quality.
Finish the Interior and Build the Benches
You’ll complete the interior walls and ceiling first to establish the sauna’s thermal envelope before constructing the benches. Install horizontal tongue-and-groove cedar boards for the interior, using furring strips to create a vapor barrier gap of about 1/4 inch between the boards and the wall framing. Start on the ceiling, ensuring tight seams and avoiding gaps, then work downward on the walls, leaving the same 1/4-inch gap at the bottom to allow for expansion and air circulation. Secure the boards with hidden clips or stainless steel fasteners to prevent corrosion and maintain a clean appearance, and meticulously seal all seams with foil tape to ensure an airtight moisture barrier. Just like installing a pool, having your correct tools prepared from the start makes the project smoother and helps avoid mistakes. For long-term maintenance, choosing easy-to-clean non-porous materials for high-touch areas will make upkeep simpler. When building the benches, make sturdy, multi-level structures from the same wood, attaching them securely to wall cleats drilled into the framing. Round all edges of the benches for safety and leave small gaps beneath them to promote airflow and prevent moisture buildup, just as proper water chemical balance is crucial for maintaining a safe pool environment. This method guarantees a durable, comfortable, and thermally efficient interior that can withstand the humid environment of a sauna.
Test Your Sauna and Start Enjoying
Next, perform electrical inspections by powering up the heater and verifying that the thermostat maintains the correct temperature. Confirm the heater distributes heat evenly across the interior. Run a brief session to observe the air circulation and listen for any unusual noises that could indicate equipment issues. Use a TVOC and formaldehyde monitor to ensure safe indoor air quality as materials heat up. After the session, check for proper drying and moisture levels inside the sauna. You can perform a step-by-step test on the sauna’s water bucket to ensure it meets basic hygiene standards. For a comfortable cooling-down area right outside your sauna, consider the shade and style of a small patio umbrella. Only after passing all these safety and performance tests can you confidently begin using your sauna. These steps ensure your safety and help optimize your sauna experience from the very start.