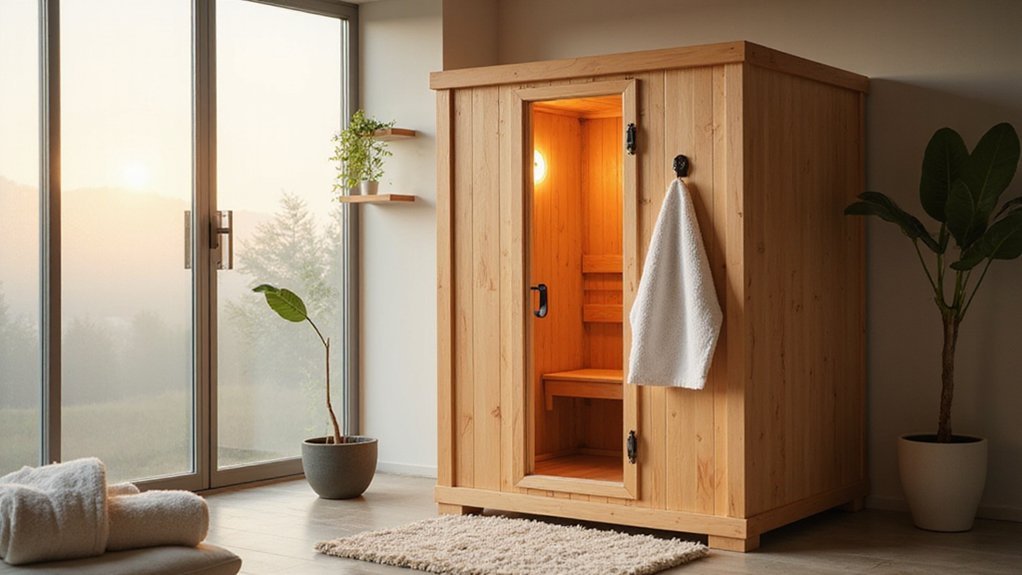
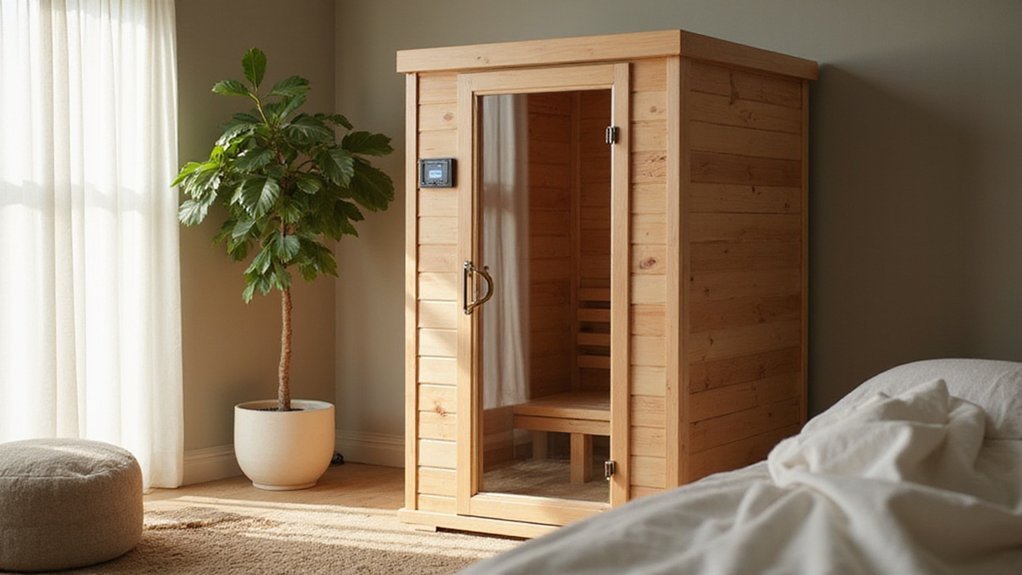
Cleaning your infrared sauna might seem like a hassle, but keeping it spotless is key to ensuring it works efficiently and lasts longer.
Regular cleaning helps prevent buildup of dirt, dust, and sweat that can affect the sauna’s performance and hygiene.
In this guide, you’ll learn simple, effective steps to thoroughly clean your sauna without damaging its delicate components.
Follow along to keep your sauna in top shape for years to come.
Get Your Sauna Ready to Clean
To prepare an infrared sauna for cleaning, start by ensuring safety. Turn off the power, then disconnect the heater either by unplugging it or switching off its circuit breaker. Wait at least 30 minutes for the internal components to cool down. Check that all surfaces are below 40°C before touching anything to prevent burns or damage. A thoughtful step-by-step plan can make any project, from a sauna cleaning to a fire pit build, more efficient and successful.
Next, remove all accessories such as towels, buckets, or personal items to clear the space. Open the door fully to ventilate the cabin, allowing it to air out and remove excess moisture. Proper ventilation helps prevent mold growth and supports effective cleaning. Leave the door open for an extended period after cleaning sessions to allow thorough airing and moisture release. This practice, much like adhering to clear safety precautions for any equipment, is fundamental for safe and proper operation. Finally, inspect the lighting fixtures inside the sauna, making sure they are free of condensation or debris, which can affect both safety and lighting performance before you proceed with cleaning. Maintaining a clean sauna enhances its key health benefits by providing a more effective and hygienic environment.
Deep Clean Wooden Surfaces and Remove Stains
To effectively deep clean wooden surfaces and remove stains, start by misting a soft cloth with a mixture of mild vinegar and water. Wipe along the wood grain to lift dirt and light stains without damaging the wood. For tougher spots, make a paste using baking soda and water, then gently scrub with a non-abrasive sponge. Lightly sanding discolored areas with fine-grit sandpaper can also help lift stubborn stains, followed by wiping away residue. This deep cleaning is essential to prevent organic wood buildup from sweat, oils, and skin cells that can cause odor and deterioration. Finding and addressing every area of residue requires a methodical approach, similar to finding a leak, just like you need a systematic process for thorough cleaning tasks. A successful outcome in any maintenance routine, like this one, depends on following a clear step-by-step guide.
Always spray your cleaner onto the cloth rather than directly onto the wood to prevent oversaturation. After cleaning, dry all surfaces thoroughly with a clean microfiber cloth to avoid moisture buildup. This process not only cleans but also helps to polish the wood and preserve its natural appearance without relying on harsh chemicals.
Safely Maintain Your Heating Panels
Before starting maintenance on your heating panels, ensure safety by turning off all heating elements and unplugging the unit. Allow at least five to ten minutes for the panels to fully cool down, which prevents burns and electric shocks. Regular inspections are crucial; check for dust buildup that can significantly decrease heat output and examine for any discoloration indicating overheating or damage. Maintaining a clean and balanced system is a universal principle, whether for your sauna’s heating elements or for ensuring proper water chemistry in a swimming pool. This is similar to the care needed for durable outdoor materials like patio furniture cushion covers. When cleaning, use a dry microfiber cloth and wipe in one direction to avoid scratching or damaging the surface. Never spray water, cleaners, or liquids directly onto the panels, as moisture can infiltrate electrical components and cause damage or fumes when the panels are reheated. Ensuring your heating panels are in top condition is just as important as selecting a high-quality infrared sauna initially.
Clean and Sanitize Sauna Stones and Accessories
To keep your sauna hygienic, you should clean the stones and accessories after confirming the heating panels are safely maintained. First, turn off the power and allow the heater to cool fully before removing the stones; this prevents thermal shock and allows safe handling. Soak the stones in warm, soapy water for at least 15 minutes to loosen grime. Then, gently scrub them with a soft brush to remove any residue. Physical cleaning removes up to 97% of harmful germs. For wooden benches and accessories, wipe them with a cloth dampened in a diluted vinegar solution or a wood-safe disinfectant. Always check the chemical compatibility beforehand to avoid damaging the finish. When cleaning wooden surfaces, scrub along the natural wood grain with a soft brush to prevent scratches. Additionally, inspect the heating elements for any signs of damage and clear out debris from the stone wells. This ensures proper airflow and maintains safety during future use.
Rinse, Dry, and Reactivate Your Sauna
To effectively rinse, dry, and reactivate your sauna, ensure all interior surfaces are thoroughly cleaned and dried before restarting. First, rinse all interior components such as the benches and walls with a mild detergent mixed with water to remove any leftover cleaning residues. Follow this with a disinfecting solution of water and white vinegar, letting it sit on the surfaces for a few minutes to kill germs. Rinse all treated areas again with clean water to eliminate any remaining cleaning solution.
Next, drying each part is critical. Use a clean, microfiber cloth to wipe down every surface, ensuring the wood and other materials are completely dry to prevent damage and mold growth. Pay special attention to the floors and heater panels, confirming they are 100% dry before proceeding. Leave the sauna door open to promote airflow and evaporate any residual moisture.
Once everything is dry, you can safely reactivate your sauna. Start by vacuuming the ventilation areas to clear out dust and debris. Reattach any covers or panels that were removed for cleaning, and verify that all electrical connections are dry and secure. Periodically vacuum out corners and crevices to remove hair and dust buildup as part of a regular maintenance routine. Before turning the power back on, double-check these connections. Finally, run the sauna at full power with the door open for several minutes, which helps burn off any remaining moisture and prepares the sauna for safe use.
Maintain Your Sauna After Each Use
After each sauna session, proper upkeep is key to maintaining cleanliness and prolonging its lifespan. Start by wiping down benches, walls, and backrests with a damp or dry microfiber cloth to remove sweat. Avoid oversaturated cloths and harsh chemicals to prevent damage to surfaces. If the heater panels are dusty, gently clean them to ensure efficient operation. Once you step out, leave the door open for 10 to 15 minutes to allow fresh air circulation and run the heaters for about 20 minutes to dry out any residual moisture. For consistent maintenance, applying the principle of routine testing used in pool care can help you stay ahead of any sauna hygiene issues. An effective maintenance sequence, similar to that used for balancing pool water, can prevent bigger problems later. Just as with a DIY pool deck, planning your cleaning steps ahead saves time and improves results. Hang used towels outside to prevent mold. Remove personal items like mats and cushions, storing them in a dry place. Always inspect the door seal to ensure it’s tight and check that vents are clear of dust or debris. To keep your sauna smelling fresh, operate your aromatherapy diffuser after each use, and use the LED lighting to check for dust or grime on surfaces.