Ever wondered how to safely turn on your patio heater without a hitch? Getting it right ensures you enjoy the warmth without any safety worries.
From positioning it correctly to igniting the pilot, there are simple steps you can follow to get your heater burning properly.
Keep reading for a clear, easy-to-follow way to get your outdoor warmth going.
Prepare Your Patio Heater for Safe Operation
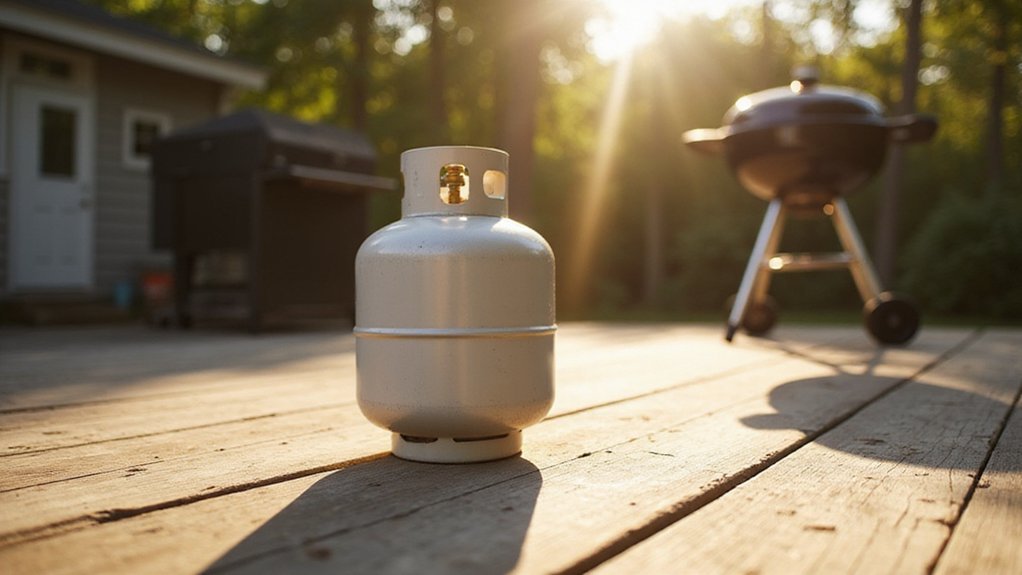
Ensure your patio heater is properly positioned on a secure, level, and non-flammable surface before operation. Place it on a flat concrete or patio surface, avoiding grass or indoor locations, to prevent instability or fire hazards, and remember that using a patio heater indoors is dangerous and not recommended. For extended use, knowing the lifespan of your propane tank can help you plan for a replacement before it runs out. Conduct a thorough inspection of the gas connection by first closing the propane tank valve. Attach the gas line tightly, making sure there are no cross-threading issues that could cause leaks. Apply a soapy water solution to all valves and hoses; bubbles will indicate leaks that must be fixed before further use. If it’s windy, secure the heater with sandbags to prevent tipping. Finally, verify that the dome is correctly installed to ensure safe and effective operation. Research shows that heat therapy can be as beneficial as exercise for improving cardiovascular function when used safely and regularly.
Light the Pilot Light on Your Patio Heater
To light the pilot light on your patio heater, start by locating the pilot assembly. Find the knob labeled “Pilot” and open the heater’s access panel to reach it. Turn the knob to the “Pilot” position and fully depress it. Hold the knob down for about 90 seconds to let any air in the gas line escape. While keeping the knob pressed, use the ignition button or a long lighter to ignite the pilot assembly. After the flame ignites, continue holding the knob down for another 30 seconds. This step ensures the thermocouple heats up, which is necessary for it to sense the flame and keep the gas flowing when you release the knob. Properly sealing the connections with Teflon tape can help prevent gas leaks during this process. Open the propane valve fully by turning it counterclockwise until it stops. Ensuring proper gas flow is crucial for a DIY propane fire pit as well. A successful setup depends on assembling your tools beforehand and following step-by-step instructions. Once this is done, gently release the control knob.
Turn On and Adjust Your Patio Heater’s Main Burner
After lighting the pilot and holding the knob down for about 30 seconds, turn the control knob counterclockwise to ignite the main burner. Wait ten to fifteen seconds while observing for a steady, consistent flame. Once the flame is stable, release the knob slowly to ensure safety and proper ignition. You can then adjust the heat by turning the knob toward “HI” for a higher flame or toward “LO” for lower heat output. Allow at least five minutes on the “LO” setting before making further adjustments to ensure stable fuel regulation. Always check that the flame is blue, which indicates proper combustion. Avoid rapid adjustments to prevent thermal stress on the heater. If the main burner does not ignite, first verify that your propane tank has sufficient fuel and that the regulator connection is secure. Before turning the control knob to activate the burner, always confirm the pilot is lit.
Safely Shut Down Your Patio Heater
To safely shut down your patio heater, begin by turning the control knob to its lowest setting. This reduces the main flame gradually. Then rotate the knob to the PILOT position and hold it for about thirty seconds to ensure the pilot light remains lit. After confirming the pilot stays on, turn the control knob fully clockwise to the OFF position. Check that all flames are extinguished before leaving the unit unattended. For leak detection and storage safety, always turn off the propane cylinder valve before shutting down the heater. It’s also a good practice to have a leak detection solution handy to check for any escaping gas. Before disconnecting the cylinder, use any residual gas in the hose to ensure a safer process. Having the right tools on hand, like a screwdriver and Teflon tape, can make maintenance tasks like this smoother and safer. If you won’t be using it soon, disconnect the cylinder and inspect the O-ring for damage. Store the propane cylinder in a secure location, away from heat and flammable materials, with the protective cap tightly in place. When inspecting your equipment, check for small punctures that could compromise safety and efficiency.
How Do I Troubleshoot a Patio Heater That Won’t Light?
To troubleshoot a patio heater that won’t light, start with a thorough fuel check. Ensure the propane tank is full and the valve is fully open. Inspect the hose for kinks, cracks, or leaks, and make sure there is no debris blocking the fuel line. Purge any air from the line by briefly opening the valve to help fuel flow smoothly. Next, examine the ignition system. Check the pilot light orifice for blockages and clean it with a small brush or compressed air. Confirm that the igniter electrode produces a visible spark when triggered; clean off any soot or dirt that might dampen the spark. This concept of using targeted troubleshooting for a system’s ignition is similar to how experts evaluate the performance and value of other home appliances. Additionally, a common culprit is a clogged down tube from moisture or debris, which must be thoroughly cleared by blowing out the pilot tube and inspecting the small copper orifice. For a thorough fix, ensure you are using the correct cleaning equipment for each component to avoid damage. When working with the heater’s components, always prioritize safety, similar to the careful planning of critical safety protocols needed for any electrical DIY project. Lastly, verify the thermocouple is heated by the pilot flame; if it’s dirty or misaligned, clean it gently or adjust its position so it is directly in the flame. These targeted steps will help identify common failures and guide your ignition repair.