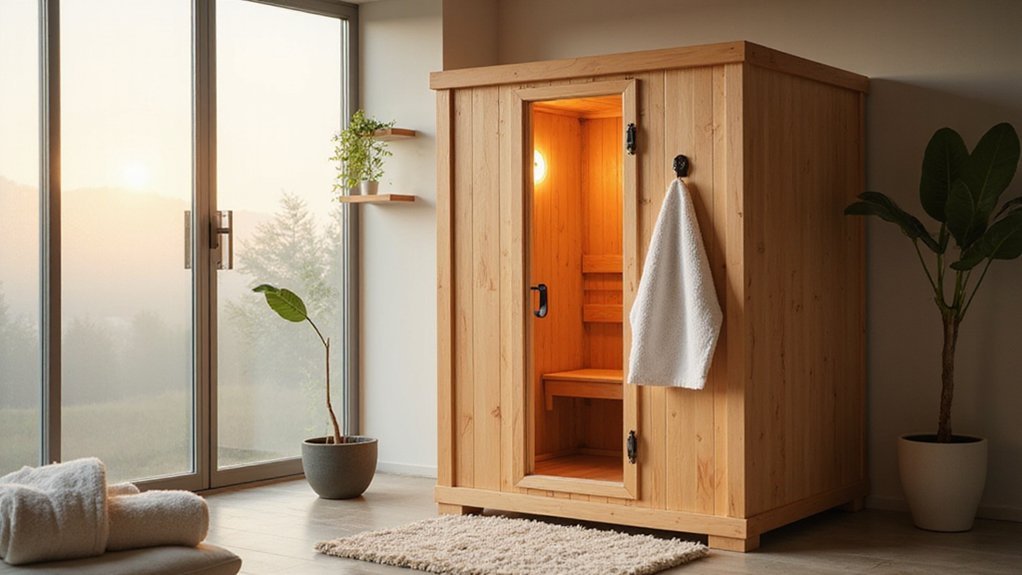
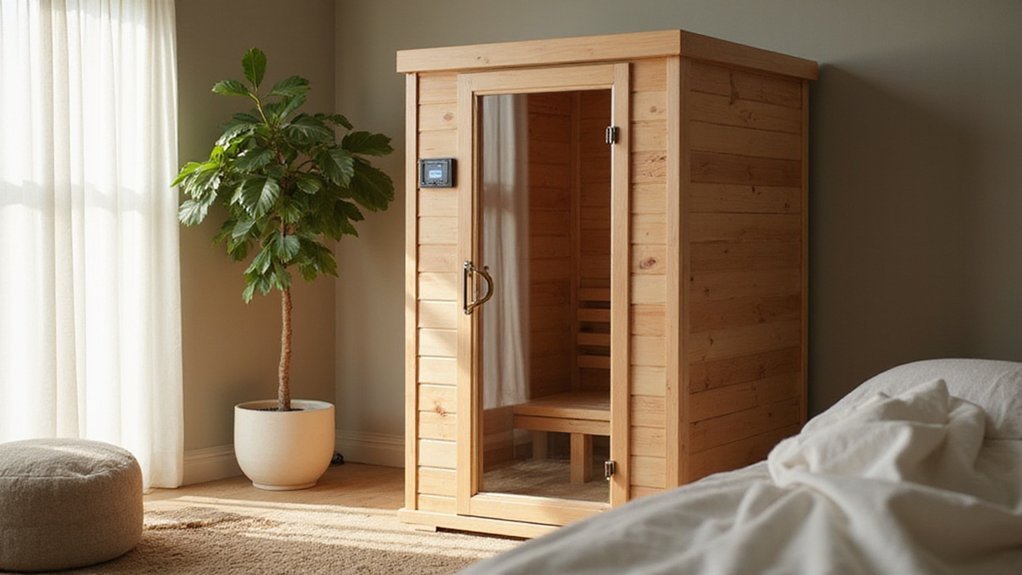
Thinking about building your own indoor sauna? It’s a rewarding project that can bring relaxation right into your home, but it requires careful planning and attention to detail.
From understanding the necessary permits to choosing heat-safe materials, knowing the step-by-step process ensures you get a safe, cozy space.
Keep reading to discover how to turn your sauna dreams into reality.
Check Local Codes and Prepare Your Sauna Site
To build an indoor sauna legally, you need to check local regulations first. If your project involves altering your home’s footprint or creating habitable space, you may need approval from local zoning authorities. A building permit is required for saunas exceeding 100 square feet, so start your permit application early. The process typically takes one to four weeks for approval. Your application should include a detailed site plan and confirm that your project does not encroach on property lines. Additionally, verify fire egress standards, such as installing a door that swings outward and is at least 32 inches wide, and ensure you have a dedicated electrical circuit for the heater as mandated by code. Understanding infrared sauna temperatures can also inform your heater selection and installation planning. An infrared sauna provides deep tissue relaxation at lower ambient temperatures than traditional saunas, which may influence your design and comfort goals. Selecting the correct insulation materials for your walls and ceiling will improve heat retention and energy efficiency. Following these steps ensures safety and helps you avoid costly corrections later on.
Frame and Insulate Your Sauna Structure
Once your sauna site is prepared, framing the walls involves positioning level plates and installing studs 16 inches on center. Ensure openings for doors and vents are properly reinforced to handle structural loads. Use the 3-4-5 method to confirm corners are square: measure 3 units along one wall, 4 units along the adjacent wall, and check that the diagonal between these points equals 5 units. This guarantees accurate squareness, which is vital for a professional finish.
Your stud framing must be plumb and secure to provide a reliable foundation for interior panels and insulation. As you install the studs, double-check their alignment with a level and tighten all fasteners firmly. Properly reinforced openings for doors and vents prevent framing shifts or sagging later on. Once the frame is complete, move to insulating the structure. Fit mineral wool or fiberglass batts R-11 to R-19 tightly into each wall cavity without compressing them, as compression diminishes their insulation value. Selecting the right proper sauna insulation is crucial for energy efficiency and consistent steam temperature. For the ceiling, install at least R-22, possibly layered with double batts for enhanced thermal performance. Fill all gaps carefully to prevent heat leaks, and avoid leaving voids or compressing the insulation material. Similar to assembling the necessary tools for a project, having all your insulation materials ready before starting makes the process more efficient.
Finally, apply a continuous aluminum foil vapor barrier over all insulated surfaces. Seal seams and penetrations thoroughly with heat-rated foil tape to block moisture and prevent vapor transmission. Similar to a DIY propane fire pit, proper sealing of the vapor barrier ensures your sauna maintains its heat and prevents damage caused by trapped moisture.
Install Rough Electrical and Sauna Ventilation
To wire your sauna heater and install ventilation, you need a dedicated circuit of 240V and 30A to 60A capacity. Confirm that your main panel can support this load before proceeding. Use high-temperature insulated copper wire, such as 8 AWG for a 40A circuit, to ensure safety and proper performance. This is similar to using the best pool covers to protect an important investment from the elements. Run conduit along exterior walls to a junction box and an outdoor disconnect switch, positioning all electrical components outside the heated space to prevent damage from heat and moisture. Install a GFCI breaker to protect against electrical faults, strictly following local electrical codes for safety compliance.
For ventilation, plan to provide continuous airflow by creating an air gap under the door. Place a fresh air inlet low on a wall diagonally opposite the heater. Use ducts rated for high temperatures to connect the inlet, ensuring adequate intake of fresh air even during extended use. Proper ventilation design prevents humidity buildup, promotes safe air quality, and maintains comfortable temperatures inside the sauna.
Lock in Heat With a Vapor Barrier and Cedar Paneling
To effectively lock in heat, install a vapor barrier directly behind your interior paneling. Use non-adhesive aluminum foil sheeting, positioned on the warm side facing the room. Staple it smoothly to the studs, beginning at the ceiling. Overlap all seams by at least six inches and seal them thoroughly with aluminum foil tape to prevent vapor penetration, similar to the method for checking your propane tank level where a specific process ensures an accurate result.
Create a critical air gap by securing furring strips over the sealed vapor barrier. This space prevents heat transfer and allows moisture to escape, protecting your insulation and structure. Just as pool maintenance requires selecting the right chemicals, achieving the perfect sauna environment depends on precise material choices, including selecting liquid pool shock for balanced water chemistry. The right materials ensure your project functions efficiently, similar to how effective pool skimmer socks are essential for keeping your pool water clean. Finally, attach your cedar paneling directly to these furring strips. This arrangement not only maintains an efficient thermal envelope but also showcases the natural beauty of cedar, reflecting radiant heat back into your sauna and sealing in warmth effectively.
Build Sauna Benches and Install the Door & Lighting
Start by marking your bench heights on the walls: 1050mm for the upper bench and between 600mm and 300mm for the lower one. Construct sturdy 2×4 frames supported by wall cleats and front legs, ensuring cross-supports are spaced every 16 to 24 inches to provide even weight distribution and stability. Attach cedar boards, 3/8-inch thick with 1/4-inch spacing, from below using screws—this spacing allows for expansion and airflow, reducing the risk of warping. Bench Layouts and Shapes depend on your space and needs, with common configurations including the simple I bench or more social L and U shapes. Ensuring a well-ventilated and clean environment in your sauna, much like maintaining proper water chemistry in a pool, is crucial for safety and longevity.
When installing the door, use a pre-hung unit to ensure proper fit, checking the seal around the edges for tightness to prevent heat loss. Attach a magnetic door latch for easy, secure closure. For lighting, select sauna-rated fixtures designed to withstand high temperatures, and install them with the switch located outside the enclosure. Route all electrical wiring carefully, away from heat sources, and seal any penetrations to preserve the sauna’s thermal integrity.
Test Your Sauna Heater and Conduct a Safety Inspection
To test your sauna heater and perform a safety inspection, start by inspecting the heater for any visible damage, including cracks, corrosion, or loose parts. Confirm the thermostat accurately controls the temperature by setting it to a desired level and verifying the temperature reading matches the setting. Ensure the heating elements are fully covered by stones to avoid direct contact that could lead to overheating, and remove any obstructions nearby that could block airflow or cause a fire hazard. Next, verify electrical compliance by examining all wiring for proper code adherence, checking for loose connections, and ensuring circuit breakers operate correctly. Look for signs of wear, corrosion, or frayed wires.
Inspect the sauna’ s structure for signs of heat damage such as warping, cracking, or discoloration, and verify that ventilation systems are functioning well to maintain safe air quality and temperature regulation. Proper maintenance helps you avoid unexpected shock treatment costs from electrical or structural failures. For interior maintenance, use a mild solution for cleaning the wood to avoid damaging the surfaces. Finally, conduct a test run within the manufacturer’ s recommended time limit. During this test, monitor for even heat distribution, proper operation of safety devices such as overheat protection, and listen for unusual noises or smells. Confirm that all safety features activate correctly before using the sauna regularly.