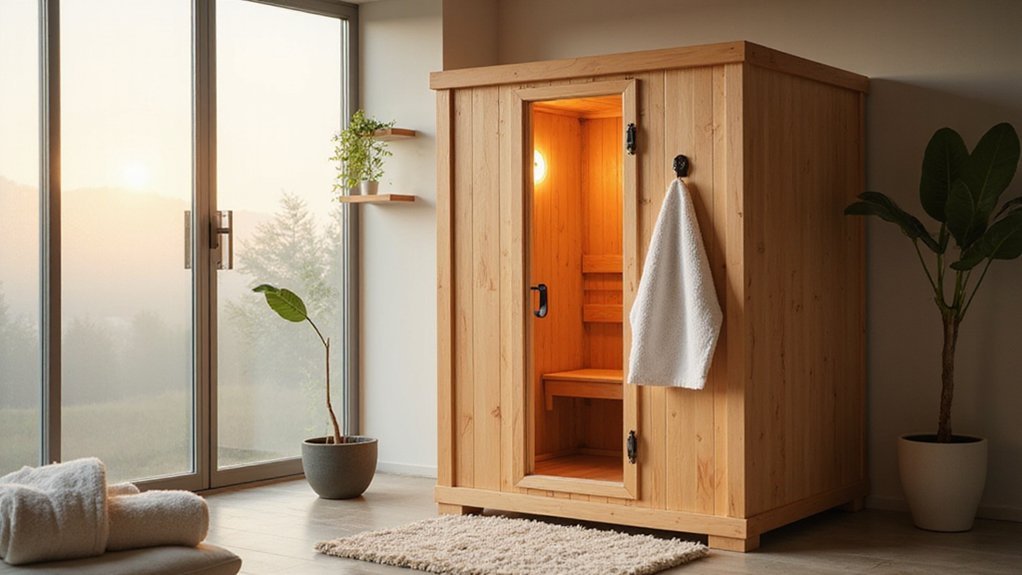
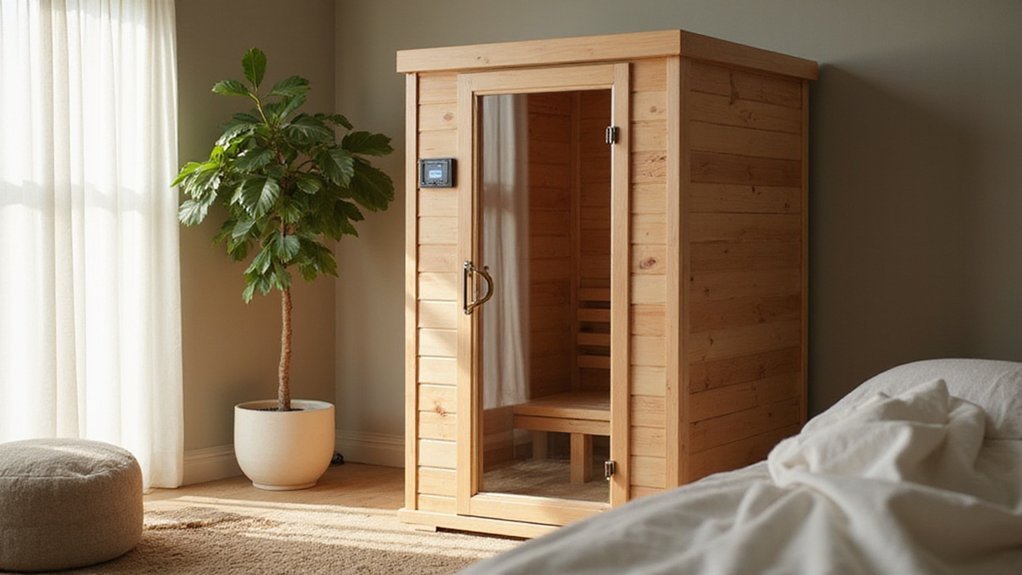
Thinking about building your own sauna can feel overwhelming—what type should you pick, and how do you make sure it fits your space and budget?
Whether you’re considering a modular, barrel, or infrared kit, knowing the key factors helps you get started on the right foot.
Keep reading to find out how to choose the perfect DIY sauna kit for your home.
What Are DIY Sauna Kits (And Are They Right for You)?
Ever wondered how you can build a real sauna without starting from scratch? A DIY sauna kit is your answer. These kits are pre-fabricated packages of pre-cut components designed for quick assembly—generally taking about 1 to 3 days with basic tools, which can be compared to building a DIY propane fire pit in terms of project complexity. They serve as the interior finish for a room you’ve already framed and insulated, making the process straightforward.
Most kits include cedar or hemlock wall panels, benches, a pre-hung door, hardware, and detailed instructions. Many also come with a matched electric heater, stones for traditional heating, and essential features like a vent kit and ambient lighting. The bundled approach means you don’t have to source each item separately, which simplifies the project and can reduce costs. For those comfortable with basic handyman tasks, DIY sauna kits offer a practical middle-ground that combines customization with convenience. You can also upgrade to an infrared sauna heater in many kits, which research suggests offers a uniquely penetrating warmth.
The 5 Main Types of DIY Sauna Kits Compared
Modular or panel kits are the simplest DIY sauna options to assemble, making them ideal for quick indoor setups. These kits come with pre-cut panels that fit together with minimal framing, allowing you to finish your sauna in a few hours. They are lightweight and portable, often requiring only basic tools like a screwdriver or drill. Selecting the right sauna door is a key final step for both aesthetics and heat retention.
For those seeking more customization, pre-cut or custom kits provide greater design flexibility. They often need more framing work and precise measurements but let you tailor the sauna’s size, shape, and interior features to your space. These kits are suitable if you have some carpentry skills and want a personalized look. Similar to comparing the top options for pool maintenance, reviewing multiple custom kit providers helps find the right fit.
Outdoor saunas typically use barrel kits, which feature a rounded, elongated design that maximizes heat efficiency and adds a traditional aesthetic. Their construction employs thick, curved staves of durable materials, providing excellent material longevity against weather elements. Barrel kits are a popular choice for those wanting a rustic, attractive structure that heats quickly, though for an even more temporary outdoor setup, a high-quality sauna tent could serve as an excellent alternative.
Infrared or compact kits are perfect for small indoor spaces. These plug-and-play options include built-in radiant heat panels that emit infrared heat, creating a quick and convenient sauna experience. They require minimal assembly and are often portable, making them suitable for apartments or tight areas where space is limited.
Modern cube or pod kits offer a sleek, standalone design with clean lines and often feature glass panels. These structures provide a contemporary look and may include advanced features like integrated lighting or sound systems. They are generally easier to assemble than custom builds but can be more expensive due to their modern design and materials.
When choosing among these five core options, consider your skill level, available space, desired final appearance, and budget. Each style offers unique advantages depending on your specific needs.
How to Size Your Sauna for Space and Capacity
To size your sauna properly, start by calculating the floor area based on your desired capacity. Allow approximately 18 to 22 square feet per seated person to ensure comfort. For a two-person sauna, plan for at least a 4 by 6 foot space. These dimensions influence both the sauna’s aesthetic design and the durability of your chosen materials. Just as you would gather specific tools for a pool project, you should prepare your space and materials before sauna assembly begins. Keep in mind that material and size decisions directly impact your total project cost.
Next, design your bench layout thoughtfully. Each bench should provide at least 24 inches of length and沟洺 inches of depth per user. This gives enough room to sit comfortably without feeling cramped.
Finally, consider the ceiling height. Keeping it between 6.6 and 7.2 feet offers a balanced feel and helps with energy efficiency. After finalizing your interior dimensions, use a heater manufacturer’s calculator to verify that your space will support proper heater performance. Remember, cold surface areas like large glass doors or tile walls require a larger heater adjustment than the raw room volume alone would suggest. Always choose reliable propane suppliers for any gas-powered outdoor heater components to ensure safety and performance.
Setting Your Budget: DIY Sauna Kit Price Ranges
Your first step in setting a realistic DIY sauna budget is understanding the potential costs for kits and materials. Basic 2 to 4 person sauna kits typically range from $2,500 to $7,000, with entry-level models starting around $2,000. Keep in mind that the exact cost varies depending on size, materials, and features. A smaller 2-person kit can be purchased for as low as $1,200, making it a more affordable option for beginners. On the high end, premium 4-person builds can reach $5,000 to $8,000, especially if you choose customizations or high-end materials. For inspiration on managing upkeep affordably, you can explore resources for hot tub maintenance without chemicals.
Your total installed cost usually falls between $4,500 and $15,000. This estimate includes additional expenses like lighting, electrical work, and finishing touches. When selecting materials, it’s wise to apply the same practical tips used for choosing durable outdoor furnishings. Your DIY skill level significantly influences the overall expenditure; simpler kits with fewer custom options are generally more budget-friendly and easier to install. Proper planning and understanding your own capabilities can help prevent unexpected expenses and keep your project on track financially.
Choosing the Right Heater and Electrical Setup
Choosing the right heater is essential for your sauna’s performance and energy efficiency. For most indoor sauna kits, an electric heater is the best choice due to its ease of use and digital control options. To determine the right size, match the heater’s power output to your sauna’s volume—about
1 kW per : cubic feet. For example, a 6-foot by 6-foot by 7-foot sauna (approximately 252 cubic feet) would need a heater rated around 5.5 kW.
Conduct a thorough cost analysis considering both purchase price and ongoing expenses. Electric heaters generally cost around $0.93 per hour to operate, while gas options can be more economical depending on local rates. Choosing a reliable fuel source, whether gas or electric, requires understanding the combustion process involved. Comparing the top options is a smart step, just like when selecting the perfect patio umbrella lights.
Safety is paramount; your electrical setup must include a dedicated circuit and proper wiring. Installation should be handled by a licensed electrician to ensure it meets voltage and amperage requirements, reducing the risk of electrical hazards or damage to the unit. The value of having clear, step-by-step instructions extends to any DIY home project for safety and accuracy.
The Essential Guide to Sauna Insulation and Ventilation
Ensuring your sauna is properly insulated and ventilated is essential for efficiency, comfort, and longevity. For insulation, mineral wool or unfaced fiberglass batts are highly recommended for the walls and ceiling. Use R‑13 insulation for walls and R‑19 for ceilings indoors; increase these values for outdoor or unheated spaces to prevent heat loss. A methodical approach, similar to checking your pool liner, helps avoid missing critical areas when installing these materials. Install a foil vapor barrier on the warm interior side with sealed seams to protect against moisture infiltration. Creating an air gap behind your paneling with furring strips helps allow moisture to escape and prevents mold growth. For the floor, rigid foam installed over a concrete slab provides effective insulation and moisture protection. In outdoor saunas, a raised wooden floor provides natural circulation to prevent moisture buildup, often eliminating the need for dedicated floor insulation. This differs from the high ambient humidity of a steam shower, which requires a fully sealed and waterproofed environment. Proper ventilation is equally critical; you need an adequate fresh air intake and exhaust to manage air quality and moisture levels. Proper airflow reduces humidity, prevents condensation, and maintains a healthy, enjoyable sauna environment. Comparing the best sauna for 2 person can give you a clearer idea of popular configurations and features.
Step-by-Step Guide to Assembling Your Sauna Kit
Assembling the kit transforms your prepared framing into a functional sauna space. First, verify that all components are present—this includes panels, battens, fasteners, and hardware—and gather your tools, such as a drill, screwdriver, level, measuring tape, and scissors or utility knife. Begin by securing a level base frame to ensure a stable foundation. Install insulation within the framing and lay a continuous, sealed vapor barrier to prevent moisture from penetrating the structure. Attach battens over the vapor barrier to provide support for the cladding.
Next, secure the interior and exterior cladding from ceiling to walls, ensuring panels fit tightly and are properly aligned. Throughout the wall assembly, you should check for squareness by measuring diagonals and use a gentle mallet to adjust alignment. Apply a suitable wood treatment, like a sauna-safe sealant or oil, to the interior panels and benches to protect the wood from moisture and heat damage. Build and secure bench frames at ergonomic heights—typically around班长 18 inches from the floor—and install the seating surfaces. Mount the heater with the appropriate clearances specified by the manufacturer, avoiding any obstructions or combustible materials nearby.
Install the door and ventilation system, factoring in your preferred lighting options for ambient illumination during use. For lighting, choose fixtures rated for high heat and humidity, and consider dimmable lights for mood adjustment. Follow each step carefully and methodically; rushing or skipping details could compromise safety and durability.
Final Pre-Purchase Checklist for Your DIY Sauna Kit
Before purchasing a DIY sauna kit, you need to thoroughly review your installation site to ensure it meets safety and performance standards. Confirm that your foundation is level and offers sufficient clearance around the planned sauna location. Verify that your floor can support the weight of the entire structure, considering both the material and occupancy. Check your electrical panel’s capacity to handle the sauna’s voltage requirements and plan for professional wiring to ensure safety and compliance with codes. Evaluate the ventilation plan to promote proper airflow and prevent moisture buildup, which can cause damage over time. Assess insulation needs to maintain temperature efficiency and energy savings. When planning for an optional outdoor gas heater, familiarize yourself with common propane tank sizes for fuel supply.
Pay close attention to the material quality of the sauna kit; select solid, thick softwoods like cedar or hemlock, which can withstand heat and humidity without warping or degrading. For optimal recovery, consider scheduling your sauna sessions around your workouts, as infrared sauna after exercise can aid muscle relaxation. Understand the long-term maintenance effort required for both the wood interior and the heating unit, including periodic cleaning with specialized pool closing chemicals for any adjacent wet areas. Lastly, confirm there is unobstructed, ample delivery access for all components, especially large panels and the certified heater, to avoid logistical issues during installation. Since most kits require adjustments, be prepared to add proper ventilation such as an intake near the heater and an exhaust opposite it for correct airflow.