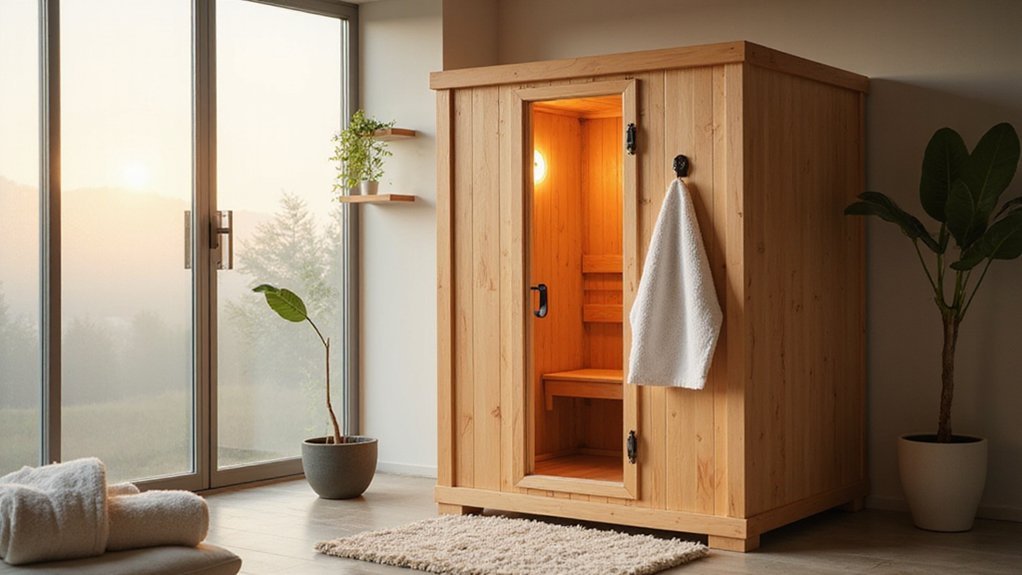
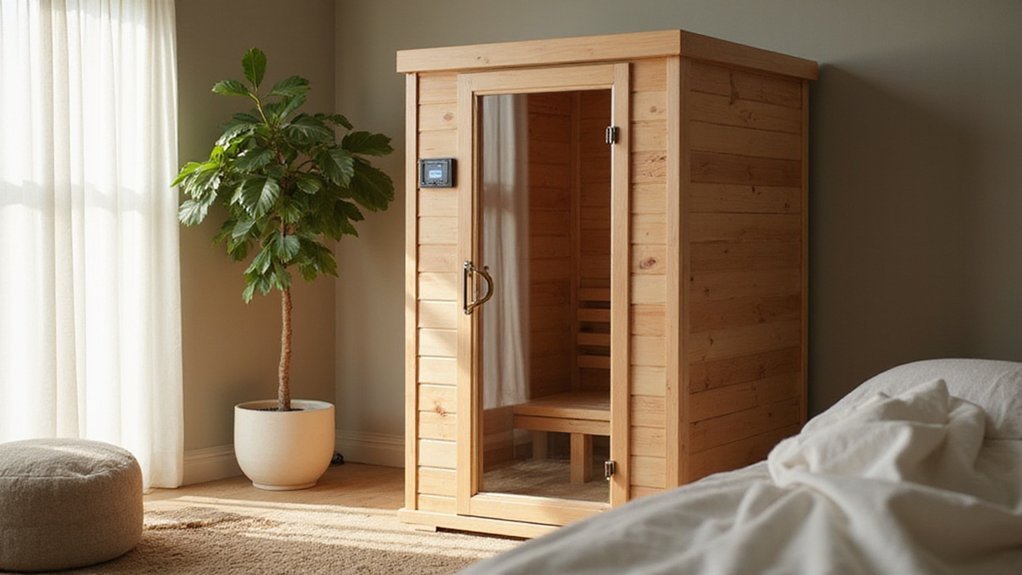
Thinking about building your own infrared sauna but unsure where to start? It’s a doable project that can bring wellness right into your home, and it starts with a solid plan.
By understanding the key steps involved, you’ll be ready to create a cozy, effective space for relaxation and health.
Keep reading to see how you can turn your idea into a reality.
Plan Your DIY Infrared Sauna Size and Location
Before you buy materials or start building, you need to plan your sauna’s interior size and decide where to place it. For a single person, allocate about 3 feet by 3 feet of interior space. For two people, aim for at least 4 feet by 5 feet or 5 feet by 5 feet. Your ceiling height should be between 6.5 feet and 7 feet to ensure comfort and proper heat circulation. To determine the overall volume, multiply the width, depth, and height of your sauna in feet. This cubic footage helps you decide how much infrared power you’ll need; generally, you require around 10 to 15 watts per cubic foot for effective heating.
Choosing the location is just as important. A small, dedicated indoor room close to a suitable electrical circuit is ideal for maintaining safety and ease of installation. Following a reliable step-by-step guide can prevent common mistakes and save time during the installation process. If you prefer an outdoor sauna, plan for extra insulation to handle temperature fluctuations and weather conditions. Always leave enough space around the sauna for ventilation, which is crucial for safety and comfort. Additionally, consider installing custom lighting during early planning to enhance relaxation and functionality. You can often apply the same money-saving tips used in other DIY projects like a propane fire pit to keep your budget in check. Understanding propane tank lifespan is also useful for planning any outdoor heating appliances.
Frame the Sauna Walls and Ceiling
To frame the sauna walls and ceiling, start by laying the bottom plates along your chalked floor lines. Secure them firmly in place. Install the top plates directly above the bottom plates, ensuring they are perfectly level to keep your walls straight. Then, insert your vertical studs between these plates, spacing them 16 inches on center for optimal support and stability. Frame the door rough opening with king studs on either side, a header across the top, and jack studs supporting the header. Leave a slight clearance for the door itself to swing freely. A high-quality cover can protect your project from the elements during construction. Completing a well-sealed frame is a key step toward creating an efficient environment for achieving the deep tissue heating associated with infrared saunas.
Build each wall frame flat on the floor first. Verify that the frame is square by measuring the diagonals—both should be equal. Once confirmed, raise the frame into position and brace it securely. For the ceiling, install the joists perpendicular to the top plates at 16-inch intervals, attaching them with joist hangers for added stability. Don’t forget to include framing for your low intake and high exhaust vents early in this process, ensuring proper airflow within the sauna. Following step-by-step instructions helps ensure a successful and long-lasting build. Also, incorporate internal support blocking to provide secure attachment points for the floating bench and other interior components.
Install Insulation and the Vapor Barrier
To ensure effective insulation and vapor barriers in your sauna, start by fitting unfaced fiberglass batts tightly into all wall and ceiling cavities without compression. Aim for an R-value between R-11 and R-19 in the walls, and R-26 to R-30 in the ceiling. Make sure each cavity is fully filled to avoid cold spots and heat loss, much like ensuring a thorough cleaning process covers every area. Proper ventilation is just as critical in a sauna as it is when using combustion appliances like a propane heater in an enclosed space, and handling any related materials requires the same care as the safe disposal of propane tanks.
Next, install the vapor barrier by stapling your chosen material—either aluminum-foil-faced sheeting or 6-mil polyethylene plastic—directly over the studs and joists. For a durable installation, use a utility knife for precise cuts around obstacles, as wire or other tools are ineffective on this tough material. Keep the barrier smooth and ensure it runs continuously from floor to ceiling. Overlap all seams by at least six inches and seal every edge, corner, and penetration with high-temperature aluminum foil tape. This will create an airtight moisture seal that helps prevent condensation and moisture buildup inside the sauna.
Add the Cedar Interior and Mount Heating Panels
Install the cedar interior and mount your heating panels in this order. For cedar, select solid Western Red Cedar because of its stability and long-lasting nature. Begin by placing the first board level at the floor with its tongue facing upward. Blind-nail each board to conceal the fasteners as you work your way up to the ceiling. Plan the locations for the mounting panels now; typically, position them at the back bench and under-bench areas to ensure even heat distribution. Make sure no heater will be blocked by benches. Just like with pool chemicals, the correct order of steps matters to safety and efficiency. Prepare the mounting surfaces on your wall studs before installing the cedar, but hold off on connecting the electrical wiring until later. Leave the cedar and benches unfinished to prevent VOC release when heated. Choosing the right equipment for your needs is essential, just as it is when selecting a top skimmer for an above ground pool.
Wire the Electrical System for Safety and Code
Start by planning your circuit carefully. You need a dedicated circuit sized to your heater’s specifications to prevent overloads. Typically, smaller saunas use a 120V, 15A circuit, while larger saunas require a 240V, 30A or 50A circuit on a two-pole breaker. Use the appropriate wire gauge—such as 10 AWG for 30A—to match the amperage, similar to how specific tools and materials are required for other specialized projects. Proper grounding is essential; verify that the system is correctly grounded according to manufacturer instructions and local electrical codes. If the sauna is outdoors or in a wet area, install GFCI protection to prevent electrical shock. Also, ensure there is a readily accessible disconnect switch for the heater, allowing you to shut off power quickly in case of emergency. Understanding the key cost factors for your heating unit can also inform your budgeting for this project. Following these steps helps ensure your sauna is both safe and code-compliant.
Install Ventilation, Benches, and the Door
To ensure proper airflow in your infrared sauna, you’ll install a ventilation system with intake and exhaust vents on opposite walls. This setup is crucial for optimal airflow and safe operation. Place the fresh-air intake low, ideally below the bench level, to allow cool, fresh air to enter near the floor. The exhaust vent should be high on the opposite wall, near the ceiling, to efficiently release warm, stale air. Prevents buildup of CO₂ Proper placement guarantees that fresh air flows across the room and stale air escapes effectively. It’s wise to consult product reviews and comparisons, just as you would for any specialized equipment purchase. Just as with selecting the best cleaning tools, doing thorough product comparisons is valuable when choosing your ventilation components. Securely fasten the benches without blocking this airflow path, and install the outward-swinging door with a small gap underneath to supplement the lower intake. Following clear step-by-step instructions for each component is key to a successful build. These steps complete the sauna’s ventilation, ensuring safe and comfortable use.
Perform Safety Checks and Your First Session
Performing thorough safety checks and planning your first session is essential before using your new DIY infrared sauna. First, verify that the electrical grounding is correct and inspect all wiring connections for any looseness. Conduct an empty burn-in test by turning on the sauna and monitoring the temperature for at least 60 minutes. During this test, make sure the controller is placed outside the sauna and that an emergency shutoff switch is accessible as part of your emergency procedures. Listen for any unusual buzzing sounds, check for odors, and feel for hot spots that could indicate a malfunction. As you would with a propane tank, you can use simple methods like checking for hot spots on the exterior to identify potential issues. Remember to regularly clean your portable sauna to maintain its condition and safety.
Before entering the sauna, consult with a healthcare professional if you have any medical conditions. Remove all jewelry to prevent burns or accidents, and hydrate well beforehand to prepare for sweating. When starting your first session, set the temperature between 110 and 120 degrees Fahrenheit and limit the duration to 5 to 10 minutes. Pay attention to how you feel, and exit immediately if you experience dizziness, nausea, or discomfort. For ongoing safety, most people can use an infrared sauna safely three to four times per week. After each session, cool down gradually and rehydrate to maintain safety and comfort.