Looking to create a cozy outdoor spot with a DIY propane fire pit but unsure where to start? The key is choosing the right location, building a stable base, and ensuring safety every step of the way.
With the right guidance, you can design a beautiful, functional fire feature that adds ambiance to your patio. Keep reading to see how easy it is to make your own fire pit.
Planning Your Propane Fire Pit Location and Size
Choose a location at least 10 feet away from your house or any wooden structures. Ensure the site is on a flat, non-flammable surface like concrete or stone to prevent accidental fires. Avoid low-hanging branches or overhangs and check underneath for buried utilities such as gas or electric lines to prevent damage or hazards. The site needs to be stable and level to maintain safety and stability during use. Do not place the fire pit directly on a wooden deck without a proper non-combustible barrier, like a stone or fire-resistant mat, to prevent potential fires. Consider using an outdoor rug designed for this purpose, as it can provide a stable, non-flammable surface while also enhancing the area’s appearance. Maintain a wind-shielded spot to reduce the risk of flying sparks or gusts that could cause safety issues. Keep at least 6 to sourced 7 feet of clearance around the fire pit for furniture and safe operation. Always verify local permitting regulations beforehand, as local codes dictate required distances, safety measures, and approval processes that must be followed before installation. Because propane is heavier than air, you must also plan for adequate low-level ventilation in any enclosed fire pit area to prevent dangerous gas accumulation. The relaxing warmth of your finished fire pit can offer similar therapeutic benefits to targeted infrared heat.
Excavating the Pit and Creating a Stable Base
Begin by marking a circle at your chosen site and excavating down 6 to 10 inches. Remove all sod and roots thoroughly to reach the stable subsoil underneath. Fill the excavated hole with 4 to 6 inches of angular gravel, then compact it firmly to create a solid foundation. This layer helps ensure ground drainage and stability for your fire pit. Next, add a 1 to 2 inch layer of sand over the gravel, tamping it down until perfectly level. Be sure to slope the sand layer slightly outward to prevent water from pooling beneath the fire pit, resulting in a stable, dry platform. This dry, well-compacted base will directly support your chosen propane tank and its connected fire pit components. Before any digging, call 811 to have underground utilities marked and avoid accidental damage.
Building and Securing the Stone Wall
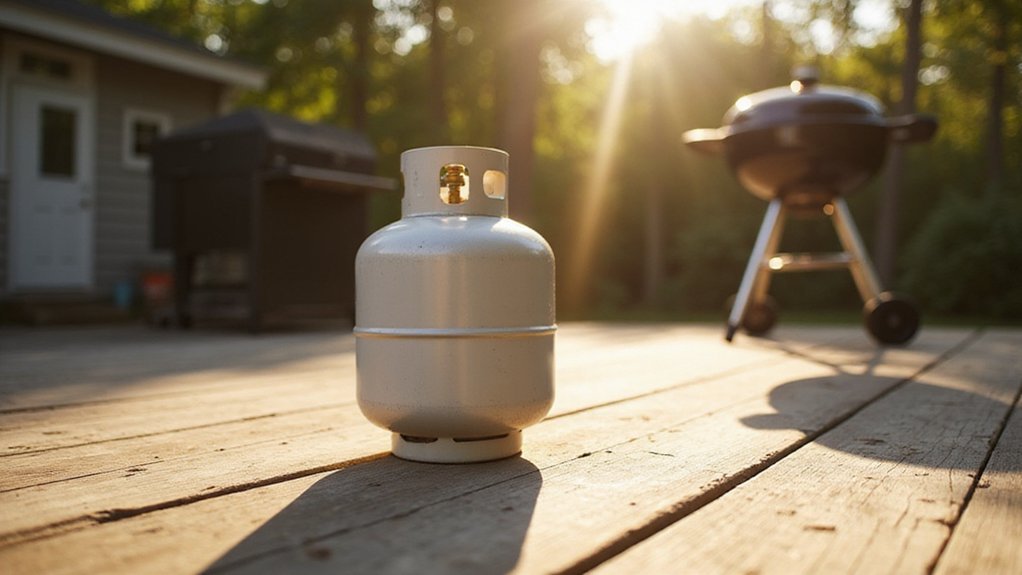
To build a secure and durable stone wall for your fire pit, start by marking out the perimeter with a stake and string to match your desired diameter. Make sure you complete all local permitting procedures and clear vegetation beforehand. Dig an 18-20 inch deep foundation trench, layering 4 inches of gravel and sand inside, and level the base carefully. When working with heat-producing structures, it’s wise to consider safe temperature ranges for surrounding materials, similar to the heat-resistant materials needed in a DIY sauna heater. Lay the first course of blocks on the sand, checking for levelness in all directions, and pack gravel around the outside of the base for added stability. As you stack subsequent courses, stagger the joints and apply masonry adhesive to ensure a strong bond. When planning your project timeline, remember that a 20 lb propane tank holds approximately 4.7 gallons of fuel. Leave 3-4 intentional gaps per course to promote airflow, preventing heat build-up. Use a level on every course, building up to your intended top height, and ensure each layer remains aligned and stable throughout the process. A good reference for stones is to cut them to a 12-inch width, which helps maintain consistency as you place them around the circle.
Installing the Burner for Perfect Flames
To achieve consistent, vibrant flames in your DIY propane fire pit, ensure precise burner alignment as your first step. Dry fit the drop-in burner pan within your stone enclosure to verify it sits flush or slightly recessed, which helps prevent uneven flames and ensures proper heat distribution. Confirm that your ignition system and valve access remain unobstructed; any blockage could hinder ignition or flame control. Attach a propane air mixer directly to the burner pan’s inlet, and seal the threads with yellow gas-rated Teflon tape to prevent leaks. It is also essential to integrate a thermocouple safety device into your system alongside the ignition controls. Additionally, maintain at least one inch of space between the burner surface and your covering material such as lava rock. This clearance is crucial to avoid smothering the flames, allowing for a healthy, steady, and full flame to develop. Consider how your fire pit will complement your patio dining set to create a cohesive outdoor living space. For the safest and most reliable operation, always perform a final check for proper gas pressure before lighting. Securing your fire pit area when not in use is also important for safety, similar to how a secure winter pool cover protects an above-ground pool from debris and accidents.
Connecting the Gas Line and Testing for Leaks
To connect the gas line and test for leaks, start by hand-tightening the regulator fittings onto your propane tank valve. Then, use a wrench for a final quarter-turn to ensure a secure fit. Apply a gas-specific pipe dope to the straight threads on the key valve and flex line, which helps create a tight seal and prevents leaks. Connect your hose to the regulator outlet, then run it to the burner, making sure to maintain proper clearances for safety. Ensure your regulator size matches the BTU rating of your burner for correct performance and safety. Always verify your setup adheres to essential fire pit safety tips before proceeding.
Once everything is assembled, open the tank valve slowly to introduce gas pressure. Before testing, it’s a good idea to understand your propane tank gauge to monitor fuel levels. For an accurate reading, locate the float gauge on your tank, which indicates the percentage of fuel remaining. Immediately spray all the connections with a soapy water solution—bubbles forming indicate a leak. If you spot any bubbles, shut off the gas, tighten the fitting, and retest. Repeat this process until the system holds pressure without leaks. Be thorough to ensure safety and proper operation before proceeding with your project.
Lighting Your Fire Pit for the First Time
Once you’ve confirmed your connections are secure and leak-free, lighting your propane fire pit requires careful attention to both the gas flow and the ignition method. Start by slowly opening the propane tank’s valve, listening for gas flow and visually inspecting the connections again. This final leak detection step is crucial to ensure safety before igniting. Consider the long-term maintenance of your outdoor setup when choosing durable components. If your fire pit has electronic ignition, press its button while turning the control knob to ‘ON’ until you hear clicking and see the flame. Should the electronic ignition fail to work, avoid rushing; instead, use an alternative ignition method like a long-stemmed grill lighter. Carefully hold the flame to the burner before turning on the gas. Always check that the area around the fire pit is clear and free from wind, as strong air currents can make ignition dangerous or difficult. Having a solid step-by-step instructions guide for your project minimizes these risks and ensures a smooth process. Ensure you are using a Teflon tape rated for gas on any threaded connections for a secure seal. This type of gas flame is suitable for cooking, making your fire pit a versatile appliance for safe roasting of marshmallows.
Adding the Final Fire Media and Stones
Adding the final fire media and stones is crucial for both the visual appeal and safe operation of your fire pit. Start by placing a one to two-inch top layer of media over the lava rock base. Use only rated materials like fire glass or ceramic logs on top, as these are designed to withstand high temperatures and won’t pose safety hazards. Avoid decorative stones that aren’t rated for fire use, as they can crack, explode, or release harmful fumes when heated. This process is similar to how infrared saunas use specific materials to safely generate and direct heat.
Proper layering is essential; do not exceed the recommended depth because this can smother the burner ports, leading to uneven ignition and inefficient flames. A successful project, whether a fire pit or a sauna, benefits greatly from a clear step-by-step plan. Just as achieving perfect shade requires proper tilting technique, getting an even and beautiful flame depends on correct material placement. Keep the media loosely packed to maintain airflow pockets that are vital for proper combustion. When placing your stones or glass, ensure they are spread evenly and don’t directly block any burner openings. This final step enhances the flame’s appearance and helps disperse gas evenly, resulting in a consistent and beautiful fire. For the longest-lasting color and appearance, choose higher-end quality glass over cheaper alternatives.
Post-Installation Safety Tips and Upkeep
Regular maintenance and safety checks are essential for long-term enjoyment of your propane fire pit. Conduct weekly leak tests by applying a mixture of soapy water to the connections and hoses; bubbles indicate a leak that needs immediate attention, much like finding a puncture in a pool liner. Always ensure all valves are closed after each use to prevent unintended gas flow. Routine maintenance impacts both performance and longevity, much like how upkeep affects infrared versus conventional saunas.
Maintain a safety perimeter of at least ten feet from any structures or flammable materials when operating the fire pit. Clean the burner ports monthly using a brush or compressed air to prevent dust or debris from blocking airflow. Inspect the regulator and hoses for cracks, leaks, or damage, replacing any worn parts promptly.
In case of emergency, know how to quickly shut off the gas supply at the tank. When storing your fire pit seasonally, cover the unit with a protective cover and store the propane tank upright outdoors, away from heat sources or direct sunlight. Regular upkeep and adherence to these safety protocols will keep your fire pit safe and functional for many seasons.